
In today’s digital age, your online presence is more important than ever. Whether you're on LinkedIn or looking to revamp your personal website, a professional headshot can make a significant difference. But what if we told you that you could achieve studio-quality results without stepping into a photographer's office? With tools like HeadshotUp and some strategic use of natural lighting, you can transform your selfie into the perfect professional headshot.
Why Natural Lighting?
Natural lighting is preferred by photographers around the globe due to its ability to produce soft, flattering tones that artificial lighting setups often fail to replicate. Here’s how it can enhance your headshots:
- Soft Shadows: Natural light creates softer shadows, which helps in achieving a more authentic and natural look.
- Cost-effective: Utilizing sunlight eliminates the need for expensive lighting equipment.
- True Color Representation: Daylight provides the most accurate color representation, ensuring your headshots appear vibrant and engaging.
Steps to Capture the Perfect Headshot Using Natural Light
1. Choose the Right Time of Day
The timing of your photoshoot plays a crucial role. Aim for the golden hours, which are the first hour after sunrise and the last hour before sunset. During these times, the sun provides a softer, diffused light that enhances your facial features without harsh shadows.
2. Find the Ideal Location
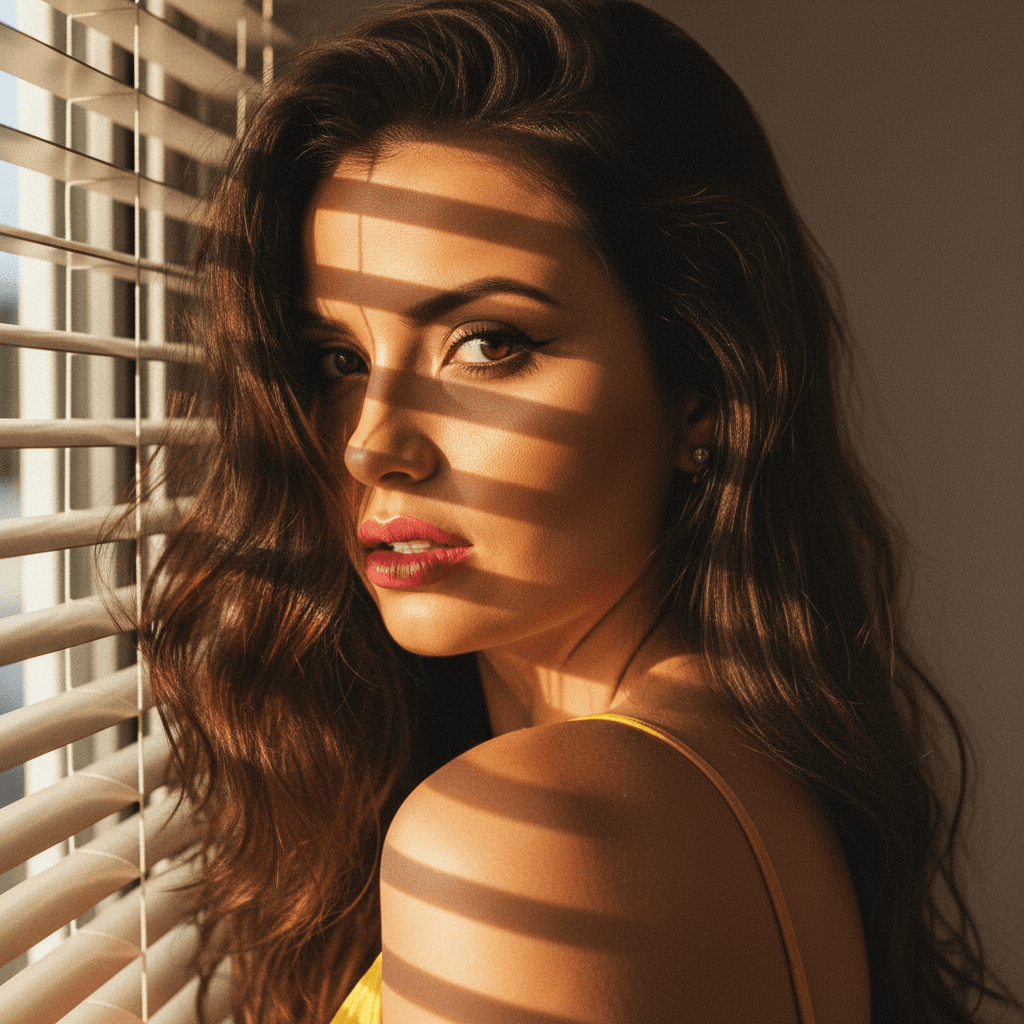
Seek a location with ample natural light, such as near a large window. Avoid direct sunlight falling directly on you, as it can lead to overexposed images. Instead, opt for a spot where light is bouncing, like through sheer curtains, which diffuses the rays.
3. Positioning and Posing
- Keep your face slightly tilted to catch the light across your cheekbones.
- Maintain a natural, relaxed pose, and engage with the camera as if you’re making eye contact.
- Experiment with angles until you find your most flattering side.
4. Use of Reflectors
If you're finding it difficult to manage shadows, a reflector can be a game-changer. Reflectors help in bouncing back light onto darker parts of your face, creating a balanced effect. You can fashion a DIY reflector from aluminum foil or a white poster board in a pinch.
Editing and Enhancing Your Headshot
Once you’ve captured the perfect image using natural lighting, it’s time to refine it. Here's where HeadshotUp shines. With its state-of-the-art AI, you can:
- Enhance Lighting: Adjust the overall brightness and contrast to suit your desired look.
- Retouch Flaws: Smooth out any blemishes while keeping the natural texture intact.
- Background Appeal: Replace or blur your background to maintain focus on your face, emulating studio exclusivity.
Final Touches and Uploading
Before you upload your headshot for the world to see, make sure to review it in different resolutions to ensure the quality holds up across platforms. This is crucial if you're using the image on professional sites where detail matters.
Tips from the Experts
- Consistency is Key: Ensure the style of your headshot aligns with your personal brand or profession.
- Regular Updates: As you evolve, so should your headshot. Keep it current to reflect your latest style.
- Use HeadshotUp: It’s the easiest, most affordable way to ensure your selfie transformation maintains professionalism without losing natural charm.
In conclusion, creating a professional headshot using natural lighting doesn't have to feel daunting. With the right preparation and tools like HeadshotUp, you can ensure your online presence exudes professionalism and authenticity.
Ready to upgrade your professional image?
Join thousands of professionals using HeadshotUp.
Get Started for Free